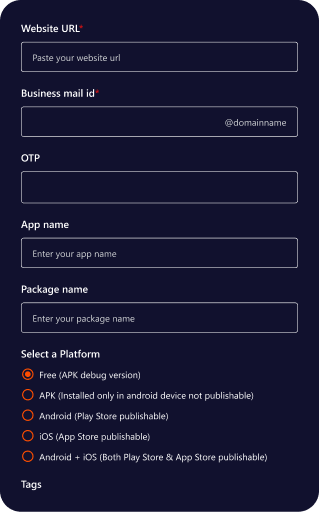
How to Set Up iOS Build Configuration
Set Up iOS Build Configuration
Step 1 — Navigate to Build Configuration
- Log in to your QuikApp Dashboard.
- Open your app.
- Go to the Build Configuration page.
- Locate the iOS Build Configuration section.
Step 2 — Enter Apple Team ID
- Enter your Team ID in the provided input field.
- This is your Apple Developer Team ID.
Where to find Team ID:
Apple Developer Portal → Account → Membership Details
Step 3 — Select Certificate Type
Choose one of the following certificate flows.
Option A — Manual Flow
Use this option if you generated certificates manually or are working on Windows.
- Upload iPhone Distribution Certificate (.cer) into:
- iPhone Distribution Certificate field
- Upload Private Key (.key) into:
- Private Key field
The .cer and .key files must belong to the same certificate.
Option B — P12 Flow (Recommended)
Use this option if you exported a .p12 file from macOS Keychain.
- Upload P12 Certificate (.p12) into:
- P12 Certificate (.p12) field
- Enter iPhone Distribution Certificate Password:
- This is the password you set while exporting the .p12 file
P12 Flow is recommended because it bundles the certificate and private key together.
Step 4 — Select Profile Type
Choose how you want to distribute your app:
App Store (Publish)
- Select App Store radio button
- Use this option for App Store submission and TestFlight
Ad-hoc (Internal)
- Select Ad-hoc radio button
- Use this option for internal testing on registered devices
Step 5 — Upload Provisioning Profile
- Upload iPhone Provisioning Profile (.mobileprovision) into:
- iPhone Provisioning Profile field
Important:
- The provisioning profile must match:
- Your Team ID
- Your Bundle ID
- The selected Profile Type (App Store or Ad-hoc)
Step 6 — Enable TestFlight Upload (Optional)
Enable this option if you want QuikApp to automatically upload your app to TestFlight after a successful build.
Prerequisites
- App must already exist in App Store Connect → My Apps
Configuration Steps
- Toggle Upload app to TestFlight ON
- Upload P8 File (.p8):
- This is your App Store Connect API Key file
- Enter Key ID:
- App Store Connect API Key ID
- Enter Issuer ID:
- App Store Connect API Issuer ID
Where to find these details:
App Store Connect → Users and Access → Keys → App Store Connect API
Step 7 — Agree to Terms and Save
- Check the checkbox:
- I agree to QuikApp terms of service and privacy policy
- Click Save to store your iOS build configuration
Security & Backup Notes (Important)
- Certificates and private keys prove app ownership
- Always keep backups of:
- .p12 / .cer / .key
- Provisioning profiles
- Passwords
- Store them in a secure vault (password manager or encrypted storage)
- Never share these files publicly or via unencrypted channels
Losing these files means you cannot sign or update your iOS app.
Your iOS Build Configuration is now complete and ready for building and distribution.